Businesses and professionals can both benefit from Tome, a website that generates presentations using AI. It draws text and graphics from both ChatGPT and DALL-E 2, making it a hybrid of the two. If you are still unaware, of how to create an account on Tome app; this article is just for you!
Artificial intelligence is changing how we go about our daily business. Any organization can use presentations as a tool to motivate, influence, and educate its target audience. While everyone is still in awe of the potential, a new AI tool has emerged that effectively builds presentations from scratch. Let’s explore how to create an account on Tome app.
To create an account on Tome app, first, visit beta.tome.app and then click Sign In. Next, you have to sign up with Gmail or Apple account. At last, share who you are including your name, role, and workspace name.
As briefed above, you are just a few clicks away to learn how to create an account on Tome App. Let’s go through the article and learn the steps elaborately!
What Is Tome App?
Let’s begin with a brief introduction to Tome App before we start with how to create an account on Tome App.
Tome is a website that uses AI to generate presentations. It draws text from ChatGPT and graphics from DALL-E 2, making it a hybrid of the two AI tools. Users only need to utilize normal language to express their desires in the presentation, which makes the prompts for Tome extremely simple. The Tome will produce about eight slides with the appropriate photos and texts in response to the prompt. The website currently provides users with a wide selection of templates to choose from.
Users will also be able to rapidly construct story outlines for slideshows from scratch thanks to Tome’s generative storytelling technology. In addition to page text as well as page layouts, the tool will provide clever and appealing names for each slide.
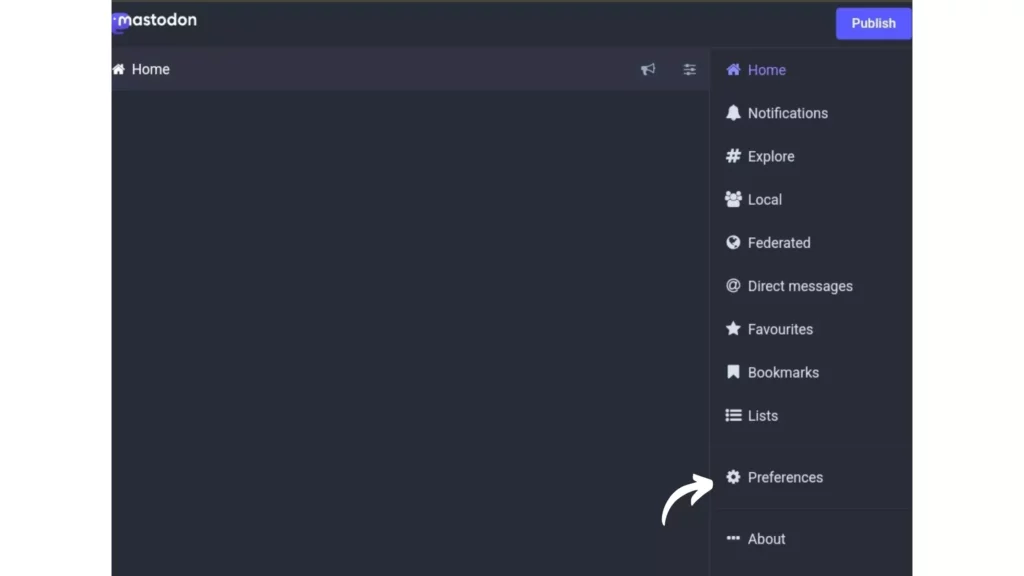
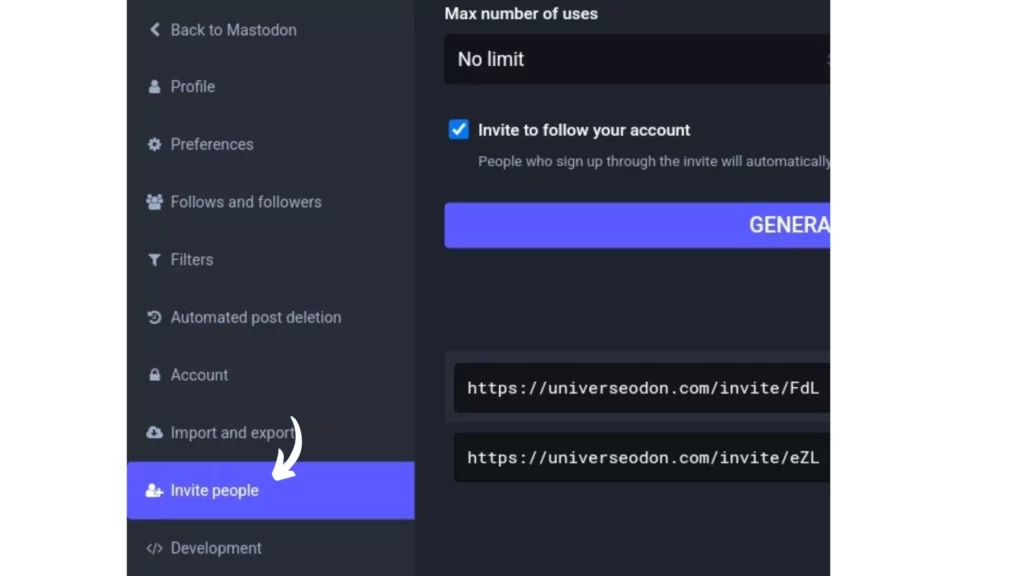
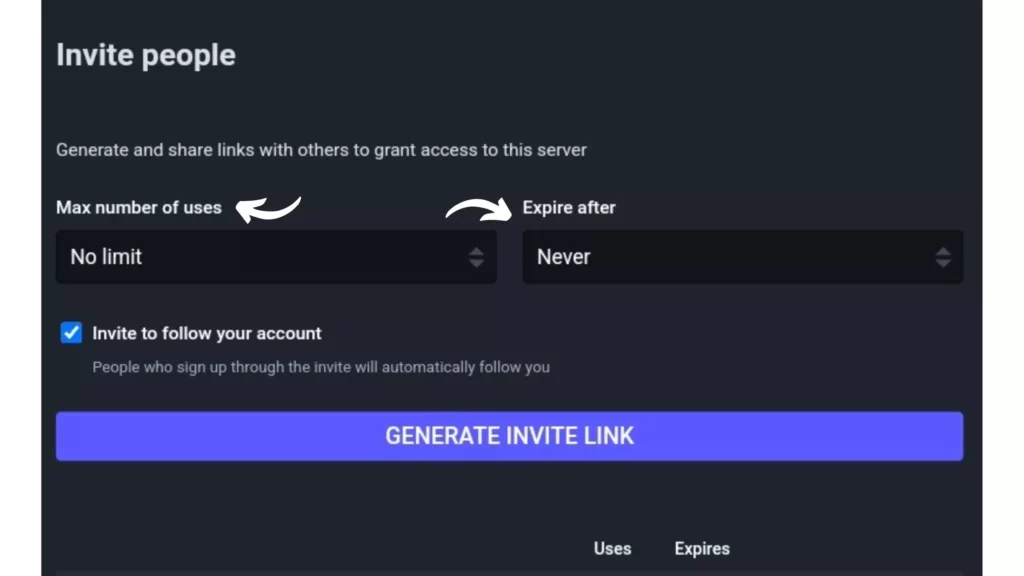
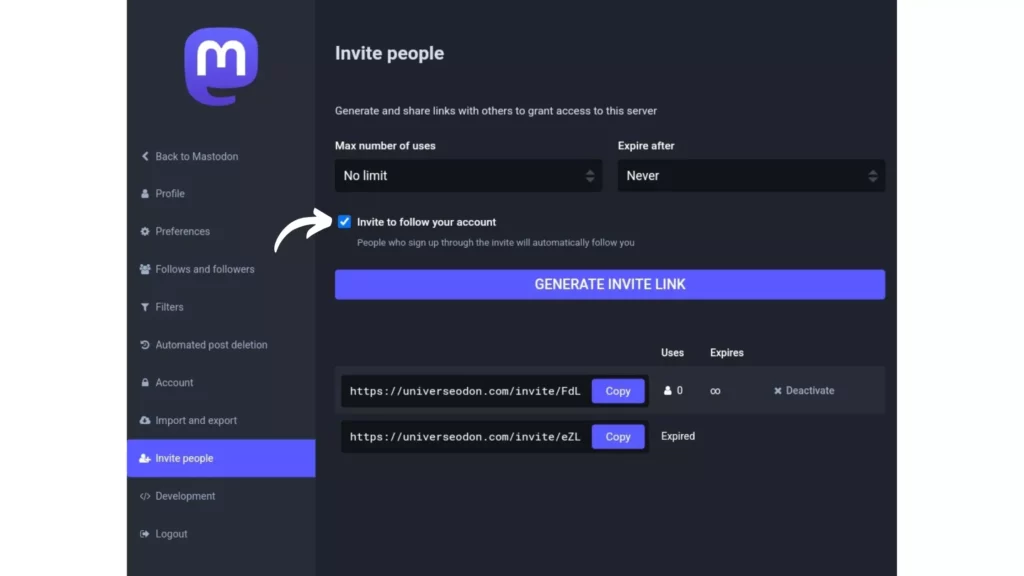
How To Create An Account On Tome App?
To create an account on Tome app, Visit beta.tome.app > Click Sign In > Sign up with Gmail or FB account > Share Who you are > Done!
Follow the steps below and learn how to create an account on Tome app easily:
Step 1: Open any browser and search for beta.tome.app.
Step 2: Find the Sign in button on the top right-hand corner of the web page and click on it.

Step 3: You will be asked to join with either your email or Sign in with Apple account. [For security, we always recommend you use a Gmail account.]

Step 4: You will be directed to a question regarding your Role, choose the best that suits you. Also, fill up your name here.

Step 5: Next, place the Workspace name.

Step 6: Confirm, and you are all set.
Now that you have learned how to create an account on Tome app, let’s find out how to use this app!
How To Use Tome App?
To utilize the AI tool, users must first register and establish a profile on the Tome website. Users can earn 500 points by creating an account, which they can then use to purchase new presentations. Each presentation would reportedly cost about 15 points, and introducing additional slides will cost an additional 5 points.
Similar to Microsoft PowerPoint, Tome enables users to customize presentations by adding tables, animations, graphics, etc. Although users do not need to be experts in AI to use the service, those who are can benefit greatly from it. Here, being more precise with the explanation or request is the key to creating superior presentations. The users don’t have to write descriptions, which is interesting. Tome provides audio-to-text descriptions so users may just speak their instructions into the application.
Here are the steps you need to follow to use Tome app:
Step 1: To start a workspace, click “create” in the top-right area of the Tome AI website after choosing “Get Tome For Free” and creating an account.
Step 2: Type a brief written description of the presentation you want to watch.
Step 3: Press Enter, and the AI tool will handle the remaining steps.
The tool will produce an eight-slide PPT with a header slide as the first slide, an index page as the second, and six pages of subjects depending on the description. If the user wishes to edit, are able to do so by selecting the section that needs to be changed and proceeding in a similar way to how they would on PowerPoint.
Wrapping Up
Hope, this guideline helped you with how to create an account on Tome app. Let’s go through the steps again before creating the account. Let’s sign up for this new AI presentation creator and share your experience with us. Follow Virescencerecord for more updates on Tome app and AI Tech.
Frequently Asked Questions
Q1. Is Tome AI Free To Use?
The tool is currently available for free use by anyone, but starting the next year, Tome is likely to provide a number of different free and paid plans with varying quantities of AI use credit.
Q2. How Do You Use Tome In A Presentation?
Users only need to utilize normal language to express what they want in the presentation, which makes the prompts for Tome extremely simple. The Tome will produce about eight slides with the appropriate photos and texts in response to the prompt.
Q3. How Does Tome App Work?
The Tome app also enables real-time and interactive integration of online content. Users can incorporate any kind of Internet information using this function in one location. To display their previous work as a cohesive component of their tale, users can also incorporate their preferred tools, like Figma live.
Q4. How Much Does Tome AI Cost?
Three editions of Tomi.ai range in price from $2,990 to $4,990. To determine which edition is best for you, look at the many pricing options below and read more details about the product here.
Q5. How Much Is AI A Month?
With a few outliers that exceed that, you can anticipate paying $5,000 to $50,000 per month for AI software. You’ll get next-level outcomes because AI is cutting-edge business technology.